v1/responses endpoint to generate images from
text prompts or transform existing images, with examples for each input type.
Before you start, check the supported models page to see
which image generation models are available via shared endpoints (available
out of the box) versus dedicated endpoints (custom deployments), since not
every model or endpoint supports every modality.
Call the v1/responses endpoint
Thev1/responses endpoint provides a unified interface for
diverse AI tasks including image generation, with structured input and output
handling. It’s built on Open
Responses, an open-source
initiative to create a standardized, provider-agnostic API specification that
works across different AI providers and model backends.
Generate from a text prompt
For text-to-image generation, setinput to a plain string describing the
image you want. The model returns the generated image as base64-encoded data in
output[0].content[0].image_data:
- Python
- curl
Pass a text string as the
input field and read back the base64-encoded image
data:Transform an existing image
For image-to-image workflows, setinput to a structured message array
containing the source image URL and a text prompt describing the transformation.
The type field distinguishes image and text content within the same message:
- Python
- curl
Pass an
input_image and an input_text block together in the content array:Use a local image file
Local files must be base64-encoded and passed as a data URI in theimage_url
field using the format data:<mime-type>;base64,<data>.
- Python
- curl
Read the file, encode it to base64, and pass the result as a data URI in
image_url:Configure generation parameters
Theprovider_options argument is an extension point in the Open Responses spec
that lets each API provider expose parameters beyond the standard request fields.
It’s used here to surface image generation controls such as dimensions and
denoising steps.
The following parameters are available under provider_options.image:
Height and width: You can generate images at different aspect ratios. Image
dimensions must be a multiple of 16 and are automatically scaled to a multiple
of 16 if an incompatible integer is provided.
Steps:
steps has the greatest effect on generation time. Diffusion models
work by iteratively refining a noisy image. More steps produce higher-quality
results but take proportionally longer. You can experiment with steps when
considering the tradeoffs of speed and quality.
Prompt adherence: guidance_scale determines how literally the model
interprets your prompt. Higher values (7-10) produce results that closely match
the prompt. Lower values (1-3) allow more creative variation.
Negative prompts: Use negative_prompt to steer the model away from
unwanted content, for example "blurry, low quality, distorted". It’s best
practice to include any negative prompting in the negative_prompt argument and
not in the main input_text string.
If you encounter memory errors, try reducing your output image dimensions or the
number of denoising steps:
Generate an image from text
Generate an image from a text description by sending a request to thev1/responses endpoint. The input field is a text string describing the
desired image, and provider_options controls generation parameters. You can
send requests using either the OpenAI Python SDK or curl:
- Python
- curl
Send the prompt and write the decoded image to a file:Run the script to generate the image:The model saves the generated image to
generate-image.py
output-text-to-image.png in your
current directory.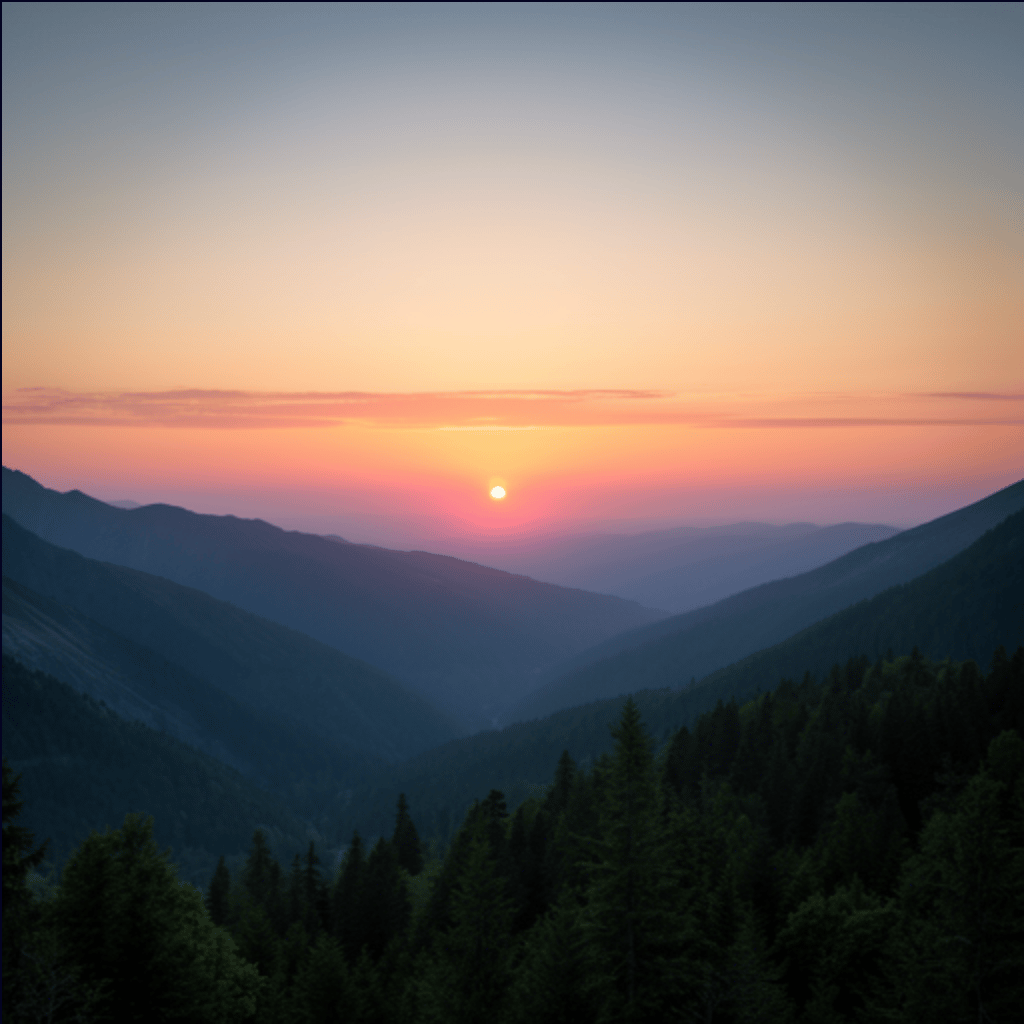
Use your generated image as input
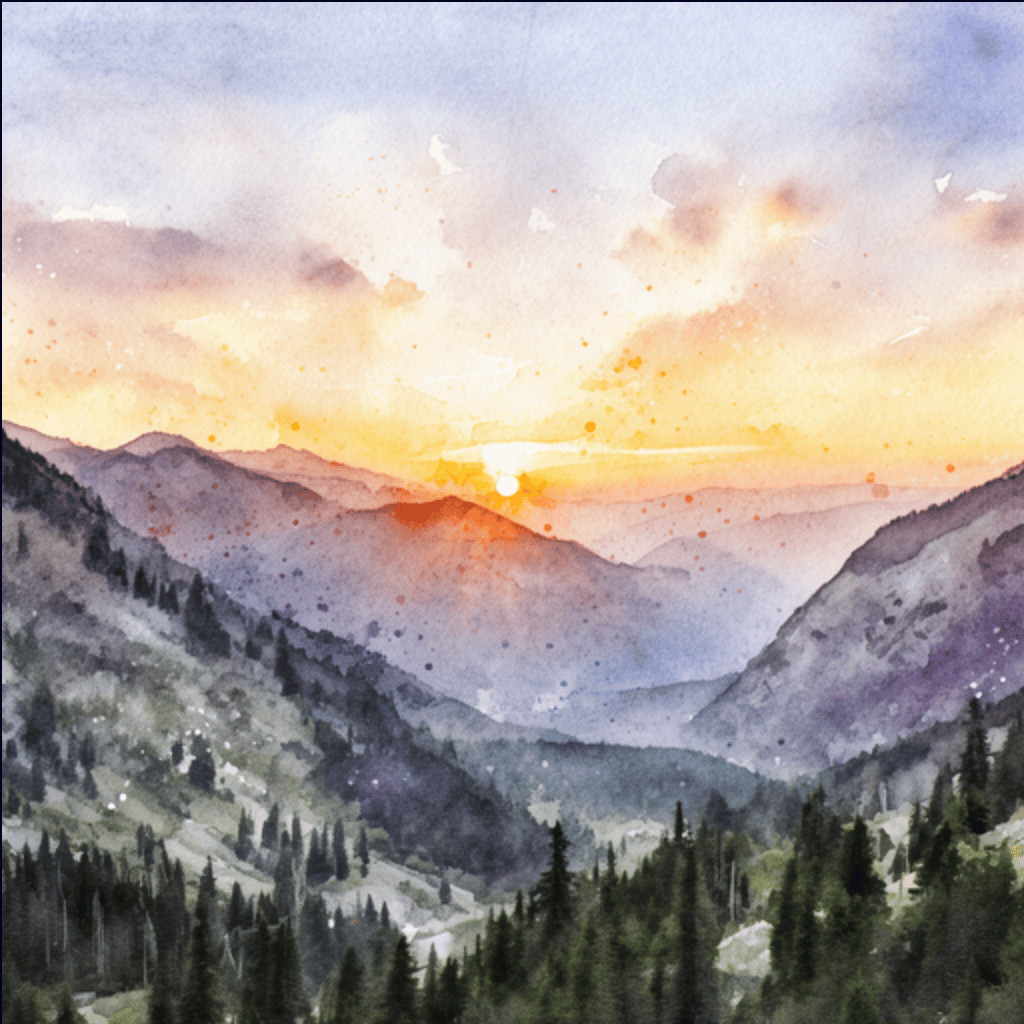
You can then take the image generated in the previous step and make additional customizations with the image-to-image workflow by providing both an image and a text prompt:- Python
- curl
Read and encode the output image from the previous step, then send it along
with a text prompt to the model:Run the script to generate the image:The model saves the transformed image to
generate-image-to-image.py
output-image-to-image.png in your
current directory.